We've introduced a new user management system into our Client Area. It's a simple, powerful, flexible way for customers to manage their account and grant access to it to other users.
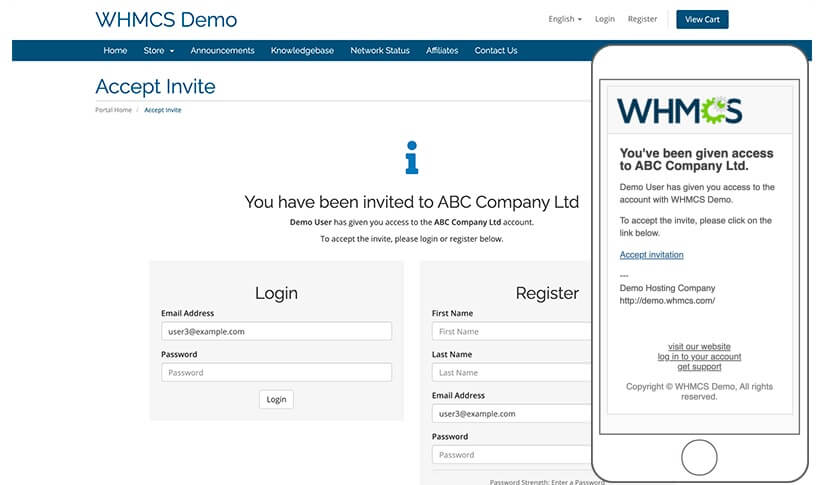
Invites can be sent to anybody at any time to grant them access to your account. Users who are invited will receive an email containing a link that allows them to accept the invite. An invite recipient can accept the invite either by logging in to an existing User account they already have, or by registering and creating a new one.
Account owners can send invitations from the User Management section of your Client Area.
To do this:
- First, login to your Client Area.
- Go to Hello, Name! > User Management.
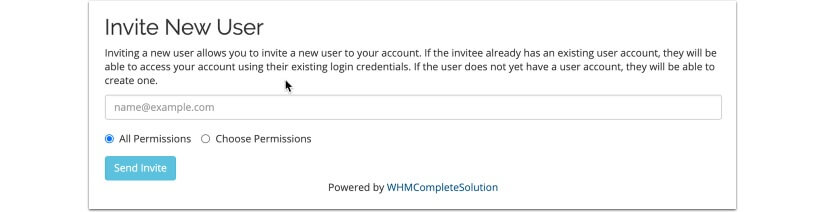
- Enter an email address under Invite New User.
- Choose All Permissions to grant all available permissions, or choose Choose Permissions and select the desired permissions.
- Click Send Invite.
The invitee will receive an email and must click the included link.
- Invitations expire after 7 days.
- While invitations go to the specified email address, the recipient can complete the invitation process using this link with any email address they choose.
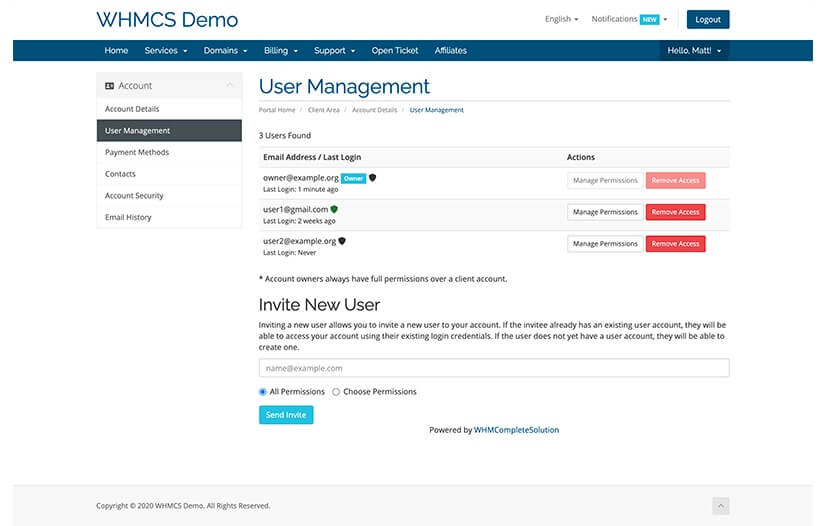
Account owners can manage users and their permissions from the User Management section of your Client Area. Here, you can view and manage all the Users who have access to your account, manage permissions, revoke access and invite new users to your account.
To do this:
- First, login to your Client Area.
- Go to Hello, Name! > User Management.
- Find the desired user in the list.
- Click Manage Permissions.
- Select the desired permissions.
- Click Save Changes.
For Users who have access to multiple Client Accounts, upon login, they will be prompted to choose the Client Account they wish to access and manage.
A User can also access this page at any time via the Switch Account menu option within the User menu.
